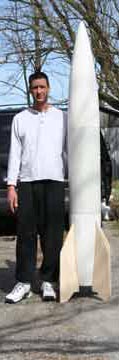
Darryl's V2
L3 Project
|
|
|
|
|
|
P1 |
P2 |
P3 |
P4 |
P5 |
P6 |
P7 |
P8 |
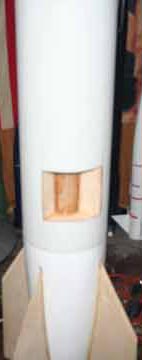
P9 |
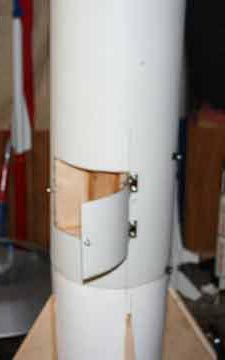
P10 |
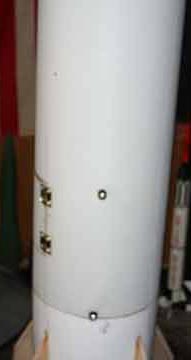
P11 |
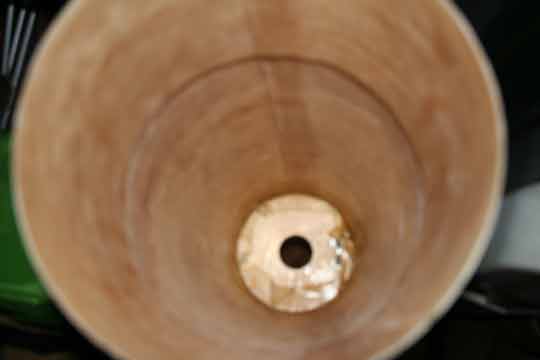
P12 |
P13 |
P13 |
|
|
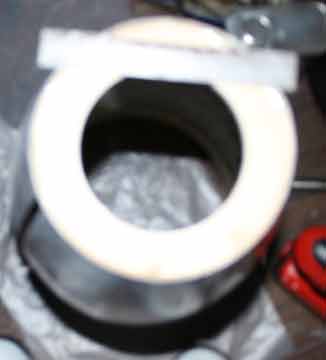
- P1 & P2 - Centered the bottom centering ring in the boattail and secured both sides in place with 12 minute epoxy.
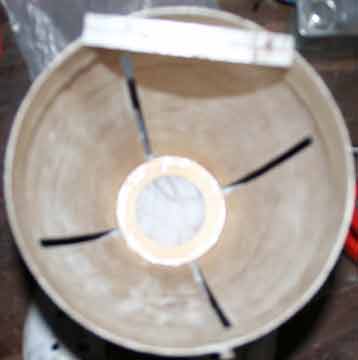
- P3 - Installed motor tube and secured it with 12 minute epoxy. Set the fins with 5 minute epoxy.
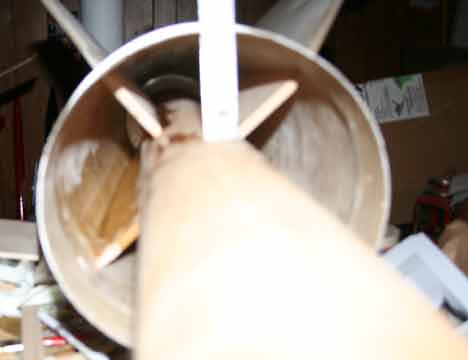
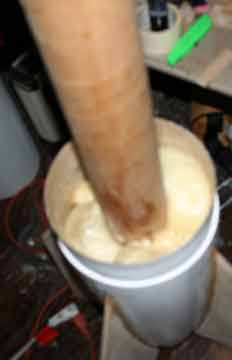
- P4 - Applied Masking Tape to the outside fin and boattail. Aplied 30 minute epoxy fillets to the fin/motor tube joints. Placed Glass Reinforcement Tape to the boattail fin joint and tacked it in place with 5 minute epoxy. Taped a paint brush to a dowel and laminated the tape in place. This was the messiest and hardest part of the build. Removed the masking tape and applied 12 minute epoxy to the fillets.
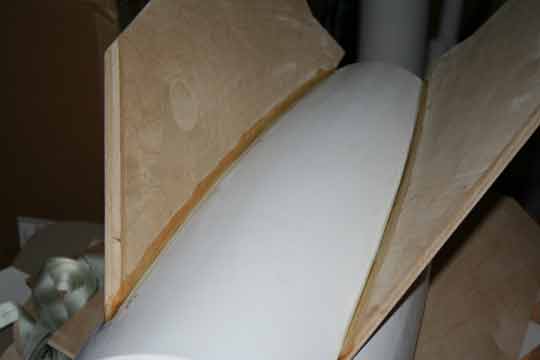
- P5 - Encapsulated the fins with expanding foam for added strength.
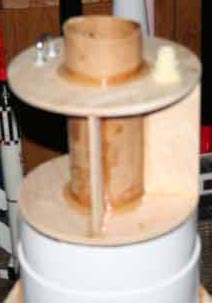
- P6 - Installed middle CR electronics bay and top CR with U-bolt and ejection holder. All was done with 30 minute epoxy.
- P7 - Applied liberal amount of 30 minute epoxy to inside of airframe and installed it.
- P8 - Applied 30 minute epoxy to top of CR and airframe.
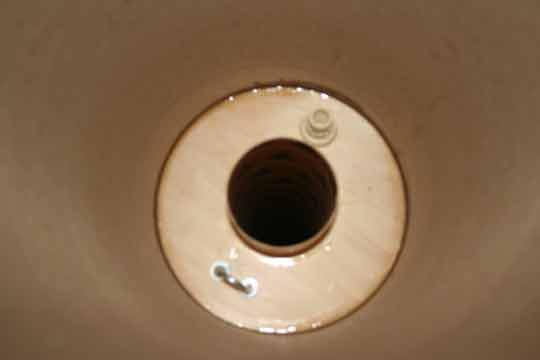
- P9 - Measured and cut door for electronics bay using Dremmel.
- P10 - Attached hinges to airframe with screws,washers and nuts. Epoxied the threads and then put screws, washers and nuts into airframe. Used a zip tie to hold door shut during flight.
- P11 - Lined up and installed rail buttons.
- P12 - Installed bulkhead in the nose cone using 12 minute epoxy. Applied a piece of glass reinforcement tape and laminated it.
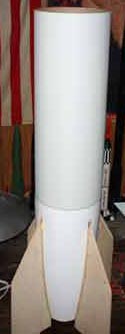
- P13 - My L3 V2 ready for paint.
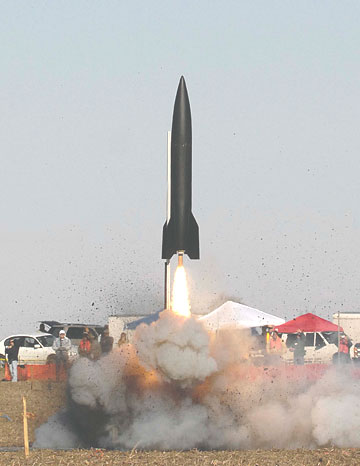
- P14 - My L3 Certification Flight during MidWest Power 5 held in Princeton, IL.